Introduction
Knowing how to cut parrot nails is an important skill for every bird owner. Overgrown nails can lead to discomfort, difficulty perching, and even health problems for your parrot. Regular trimming helps maintain their health and happiness.
In this article, we’ll guide you through how to cut parrot nails safely and effectively. With the right tools and steps, you can keep your parrot comfortable and their nails perfectly trimmed.
Understanding Parrot Nails
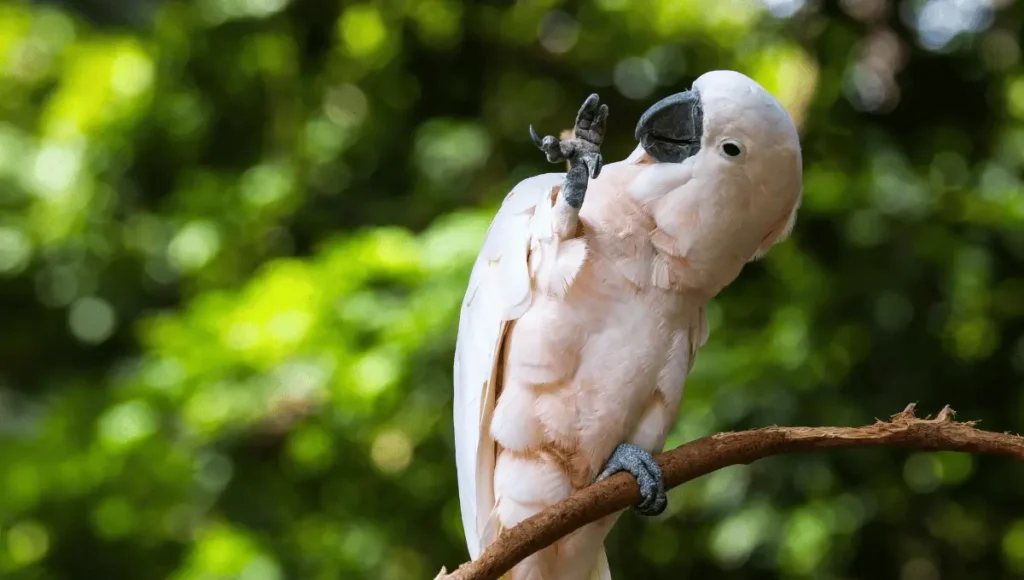
Why Do Parrots Need Nail Trimming?
Parrots use their nails for gripping perches, climbing, and balancing. If their nails grow too long, it can cause several problems:
- Pain and Discomfort: Long nails can press against the pads of their feet, leading to discomfort.
- Injury Risk: Long nails can snag on toys, cages, or clothing, leading to injuries.
- Difficulty Perching: Parrots may struggle to grip perches properly, affecting their balance and movement.
Trimming your parrot’s nails regularly ensures they stay healthy, active, and free from discomfort.
How to Recognize When Your Parrot’s Nails Need Trimming
Knowing when to trim your parrot’s nails is just as important as the process itself. Look out for these key indicators:
- Sharpness: If your parrot’s nails feel too sharp when they perch on your hand, it’s time for a trim.
- Length: Nails that start curving inward or outward excessively may be overgrown.
- Perching Problems: If your parrot struggles to grip or balance on perches, their nails might be too long.
- Snags: Long nails that frequently get caught in fabric, toys, or cage bars are a clear sign they need trimming.
How often you trim depends on the parrot’s activity level, age, and environment. Active birds that climb a lot may naturally wear down their nails, while less active parrots may need more frequent trims. Checking their nails every 3–4 weeks is a good habit.
Preparing to Trim Your Parrot’s Nails
Using the proper tools is crucial for a safe and successful nail-trimming experience. You’ll need bird nail clippers, which are designed to cut nails cleanly without causing damage. Styptic powder is another important item to have on hand in case you accidentally cut the quick, as it helps stop bleeding instantly.
A soft towel is useful for gently restraining your parrot, ensuring they stay calm and secure. Additionally, good lighting, such as a bright lamp or flashlight, is vital to see the nails quickly and clearly, especially if your parrot has light-colored nails.
Creating a calm and safe environment is crucial to reduce stress for your parrot. Choose a quiet spot in your home away from distractions, loud noises, or other pets. Speak to your parrot in a soothing voice and move slowly to avoid startling them.
Proper lighting not only helps you see what you’re doing but also keeps the setting comfortable for your bird.
If your parrot isn’t used to being handled, it’s important to prepare them before attempting to trim their nails. Start by gently handling their feet during regular interactions. This helps them familiarize themselves with the sensation.
Use positive reinforcement by offering treats or praise whenever your parrot allows you to touch their feet without resistance. Gradually introduce the towel you plan to use for restraint, letting your parrot see and interact with it beforehand.
By taking these steps, you’ll build your parrot’s confidence and make the nail-trimming process much easier for both of you.
Cutt Parrot Nails
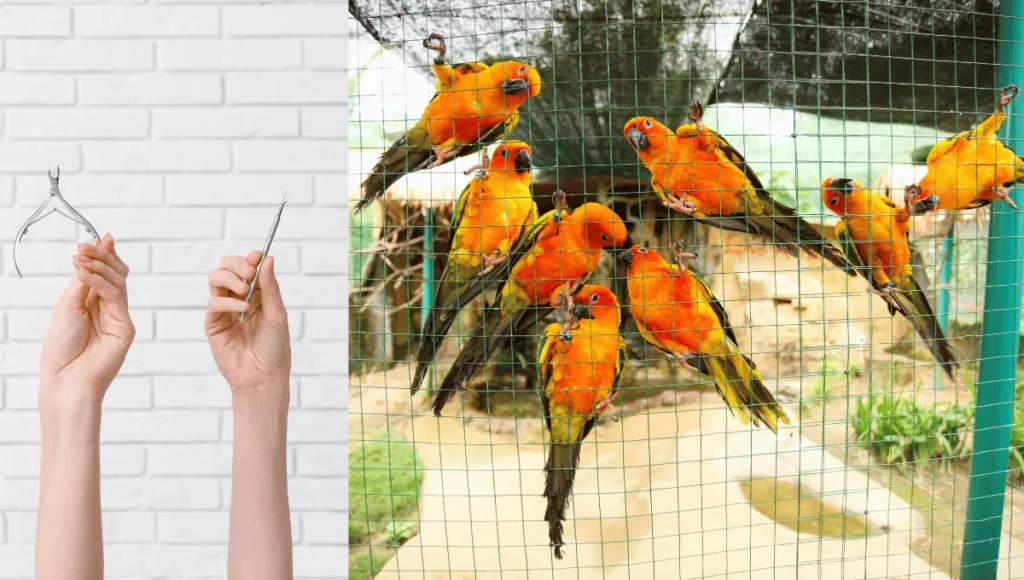
Here’s a simple table-cut parrot nails:
| Step | Description |
| 1. Prepare the Tools | Assemble the essential tools: bird nail clippers or standard nail clippers, styptic powder, and a soft towel. |
| 2. Secure the Parrot | Gently wrap your parrot in a towel to keep it calm and prevent sudden movements. Hold the bird securely but comfortably. |
| 3. Examine the Nails | Examine the nails to locate the quick (the blood vessel inside). The quick is visible as a pinkish area in lighter nails. Avoid cutting it. |
| 4. Trim the Nails | Gently trim a small section of the nail, removing just the pointed tip. For clear nails, avoid cutting too close to the quick. |
| 5. Use Styptic Powder | If bleeding occurs, promptly apply styptic powder to the nail tip to stop it. |
| 6. Calm the Parrot | After trimming, reward your parrot with a treat and praise to ensure a positive experience. |
| 7. Regular Maintenance | Trim the nails regularly to avoid overgrowth and prevent injury to your parrot or damage to furniture. |
Step-by-Step Guide to Cutting Your Parrot’s Nails
Step 1: Restrain Your Parrot Safely
Before you begin trimming your parrot’s nails, it’s important to restrain them gently to keep them calm and secure. Start by wrapping your parrot in a soft towel, leaving their head and feet exposed.
Hold them firmly but gently, making sure not to squeeze too tightly. The towel will give you control without causing your bird to feel trapped or stressed.
You should hold your parrot close to your body for reassurance, but avoid restricting their movement too much. This helps your parrot feel more comfortable during the process.
Step 2: Identify the Quick
The next step is identifying the quick, a sensitive pink section within the nail that houses blood vessels and nerves. Be careful not to cut the quick, as it may lead to pain and bleeding.
In light-colored nails, you’ll be able to see the quick easily. For darker nails, look for the point where the nail changes from a solid to a more translucent color. If you’re unsure, it’s always safer to trim a little less rather than too much. Be careful and take your time to avoid cutting too close to the quick.
Step 3: Trim the Nails Carefully
Once you’ve identified the quick, it’s time to trim the nail. Use your bird nail clippers to cut off just the sharp tip of the nail, taking care to avoid the quick. Trim a little at a time to prevent any mistakes.
If your parrot’s nails are very long, you may need to trim them over several sessions to avoid cutting too much at once. Hold the nail steady as you clip it, and be sure to trim in one clean cut to prevent splitting.
Step 4: Handle Accidental Bleeding
Even with careful trimming, accidents can happen. If you accidentally cut the quick and your parrot’s nail begins to bleed, don’t panic. Immediately apply styptic powder to the tip of the nail to stop the bleeding.
Gently press the powder onto the nail for a few seconds, and the bleeding should stop. If you don’t have styptic powder, you can use cornstarch or flour as a substitute.
Keep your parrot calm during this process, and monitor them afterward to make sure they’re not in too much discomfort.
Taking it slow, being cautious, and remaining calm will make the trimming process easier for both you and your parrot. Once you’ve trimmed all the nails, reward your parrot with a treat to help them associate the experience with something positive.
Post-Trimming Care
Checking Your Parrot’s Comfort
After trimming your parrot’s nails, it’s important to check that they are comfortable and not stressed. Gently place your parrot on a perch or allow them to step onto a flat surface. Watch for any signs of discomfort, such as limping or excessive scratching.
If your parrot is acting normally and moving around comfortably, then the trim was successful. However, if your parrot seems distressed, it could be a sign that they are still feeling a little sensitive from the process.
Take a few minutes to calm them by talking softly and offering a treat. Parrots are often more relaxed after a positive experience, so providing a small reward can help them associate nail trimming with something good.
Maintaining Healthy Nails
Nail trimming is an important part of overall parrot care, but it’s also essential to maintain healthy nails between trims. Providing your parrot with natural materials to climb on can help wear down their nails.
Wooden perches, ropes, and climbing toys give them opportunities to naturally file their nails as they move around. This reduces the need for frequent trimming, especially in active birds.
You can also check your parrot’s nails regularly, even if you don’t need to trim them. This helps you stay on top of their nail health and notice any issues before they become a problem.
Keeping your parrot’s nails healthy through proper care and attention will help ensure they stay comfortable and happy.
Common Mistakes to Avoid
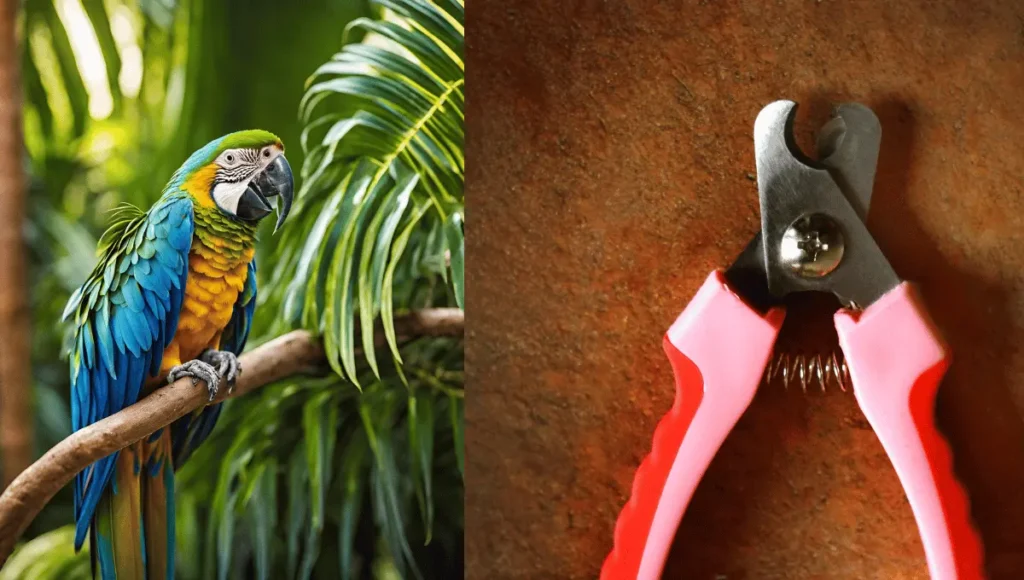
While trimming your parrot’s nails is a simple process, it’s easy to make a few mistakes along the way. Here are some common mistakes to avoid to ensure your bird stays safe and comfortable.
Over-trimming or Cutting Too Close to the Quick
One of the biggest mistakes you can make is cutting too close to the quick. The quick is the sensitive part of the nail that contains blood vessels and nerves. Cutting into it can cause pain, bleeding, and stress for your parrot.
To avoid this, always trim small amounts at a time and take care not to cut into the pink area of the nail. If you’re unsure, it’s always better to trim less and revisit the nail in a few days rather than risk injury.
Skipping Preparation and Stressing Your Parrot
Another mistake is skipping the important steps of preparation. If you try to trim your parrot’s nails without properly restraining them or creating a calm environment, your bird may become stressed or frightened.
This can make the process more difficult and could even result in injury to both you and your parrot. Always take the time to prepare the right tools, handle your bird gently, and ensure a calm environment before beginning the trimming process.
Not Using the Right Tools
Using the wrong tools is another common mistake. Regular human nail clippers or scissors are not designed for bird nails, and they can cause the nails to split or break. Always use proper bird nail clippers to ensure a clean, smooth cut.
Additionally, having styptic powder on hand is essential in case of accidental bleeding, and it’s important not to skip this step.
Trimming Too Frequently
Trimming your parrot’s nails too often is also something to avoid. While regular trimming is important, doing it too frequently can cause unnecessary stress for your parrot and lead to over-trimming.
Most parrots only need their nails trimmed every few weeks, depending on their activity level. Be sure to check their nails regularly, but avoid trimming unless it’s necessary.
Conclusion
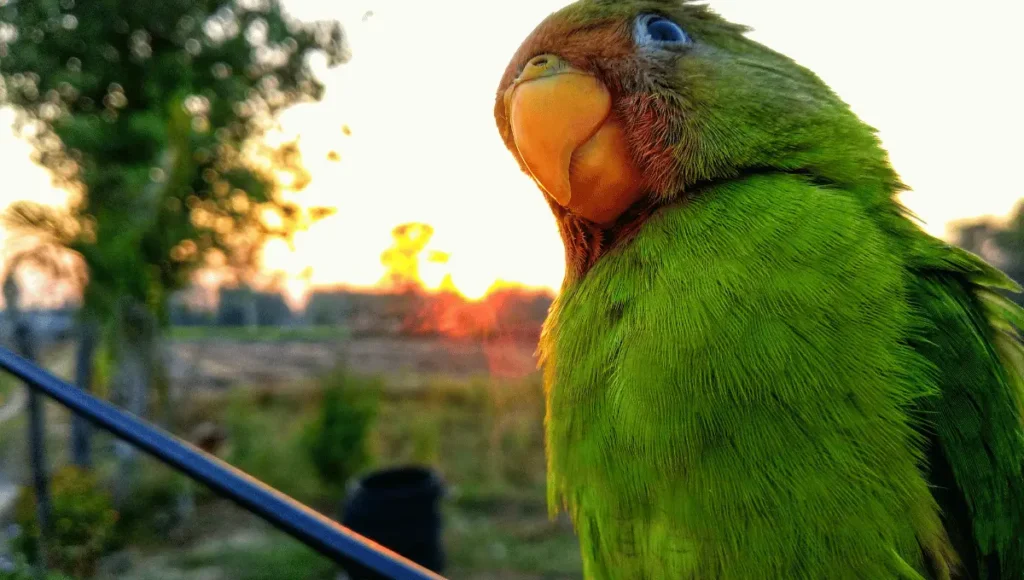
In conclusion, knowing how to cut parrot nails is a vital part of being a responsible bird owner. With the right tools, patience, and a calm environment, you can make the process stress-free for both you and your parrot.
Regular nail trimming keeps your birds comfortable, prevents injuries, and ensures they can move around with ease.
By following the steps in this guide, you’ll help your parrot maintain healthy nails and enjoy a happier, more active life. Taking care of your parrot’s nails is just one way to show them love and keep them safe.
FAQs
How often should I trim my parrot’s nails?
Parrot nails usually need trimming every 3-4 weeks, but this can vary depending on your bird’s activity level. Active birds may naturally wear down their nails, while less active parrots might need more frequent trims.
Can I use regular human nail clippers for my parrot’s nails?
No, it’s best to use nail clippers designed specifically for birds. Bird nail clippers are made to cut through tough nails cleanly without splitting them.
What should I do if I accidentally cut my parrot’s quick?
If you accidentally cut the quick and your parrot’s nail starts bleeding, apply styptic powder to stop the bleeding. If styptic powder isn’t available, cornstarch or flour can be used as alternatives.
How can I determine if my parrot’s nails are overly long?
If your parrot’s nails are sharp, curving, or getting caught on things, it’s a sign they may be too long. Long nails can also make it hard for your bird to perch properly.
Is nail trimming painful for my parrot?
When done correctly, nail trimming should not be painful for your parrot. Taking your time, using the right tools, and avoiding cutting too close to the quick will keep your parrot comfortable during the process.